
MLflow Client Side의 작업 흐름
1. 모델 등록 작업 흐름
MLflow Client Side의 모델 등록 작업의 기본 흐름은 다음과 같다.
1
2
3
4
5
6
7
1. MLflow 패키지 설치
2. Tracking Server URI 설정
3. Experiment 설정
4. Run 시작 (모델 훈련 등)
5. Parameter, Metric, Artifact를 Tracking 서버에 기록 요청
6. Run 종료
7. Tracking Server UI에서 결과 확인
코드로 보면 다음과 같다. (코드 내 자세한 부분은 이어지는 다른 포스팅들에서 살펴볼 예정!)
1
2
3
4
5
6
7
8
9
10
11
12
13
14
15
16
17
18
19
20
21
22
23
import mlflow

# 1. Tracking Server 연결
mlflow.set_tracking_uri("http://localhost:5000")

# 2. Experiment 설정
mlflow.set_experiment("client-side-test")

# 3. Run 시작
with mlflow.start_run():
    # 4. Parameter 기록
    mlflow.log_param("learning_rate", 0.01)
    mlflow.log_param("batch_size", 32)

    # 5. Metric 기록
    mlflow.log_metric("accuracy", 0.91)
    mlflow.log_metric("loss", 0.24)

    # 6. Artifact 기록
    with open("result.txt", "w") as f:
        f.write("test artifact")

    mlflow.log_artifact("result.txt")
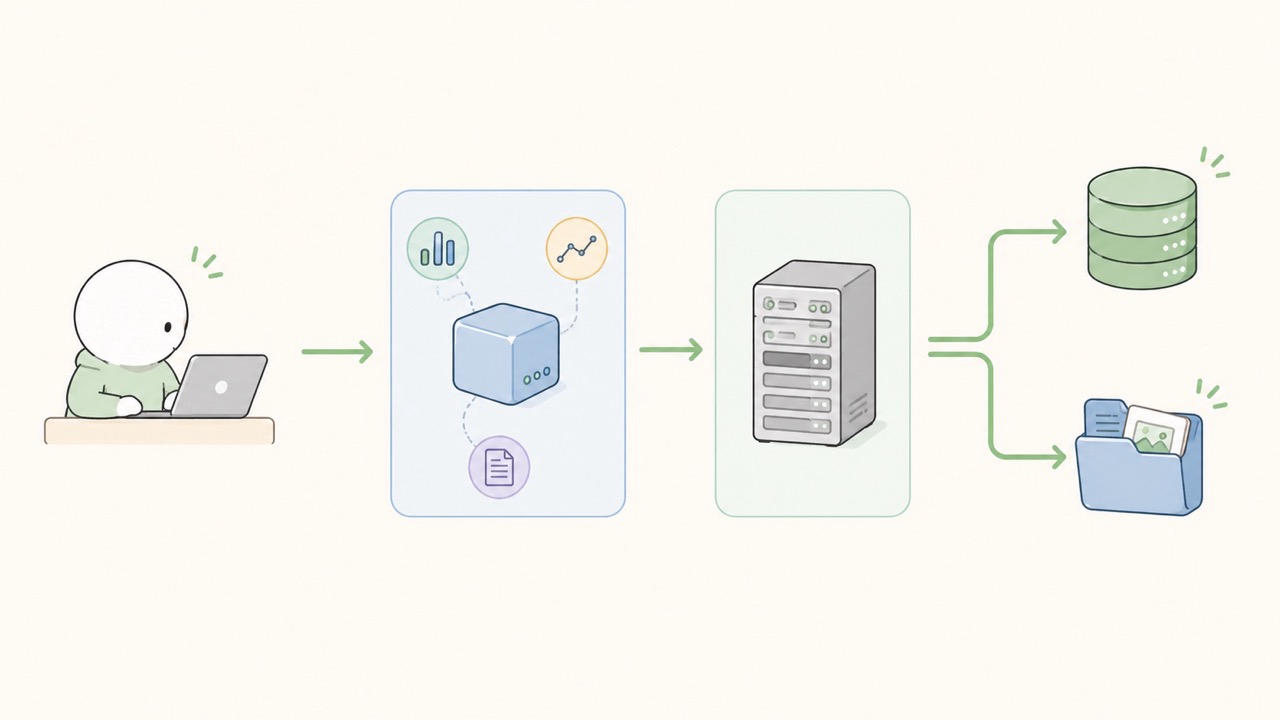
이 코드를 실행하면 Client는 Tracking Server로 요청을 보낸다. Tracking Server는 메타데이터를 Backend Store에 저장하고, Artifact는 Artifact Store에 저장한다.
Client 입장에서는 저장소의 상세 구조를 몰라도 되며, 그저 Tracking Server의 주소만 알고 있으면 된다. 이 점이 MLflow 구조의 장점이다.
2. 모델을 가져와 사용하는 작업 흐름

앞에서는 Client Side가 학습 과정에서 발생한 실험 정보를 MLflow Tracking Server로 전송하는 흐름을 살펴보았다.
하지만 MLflow Client의 역할은 기록에만 한정되지 않는다. 이미 MLflow에 등록된 모델을 가져와서 사용하는 것도 Client Side의 중요한 역할이다. 작업의 흐름은 다음과 같다.
1
2
3
4
5
1. MLflow Tracking Server URI 설정
2. Model Registry에 등록된 모델 이름 확인
3. 사용할 모델 버전 또는 Alias 선택
4. 모델 로드
5. 입력 데이터에 대해 추론 수행
예를 들어 Production 단계의 모델을 가져와 사용하는 코드는 다음과 같이 작성할 수 있다.
1
2
3
4
5
6
import mlflow

mlflow.set_tracking_uri("http://localhost:5000")
model_uri = "models:/sample-model/Production"
model = mlflow.pyfunc.load_model(model_uri)
result = model.predict(input_data)
또는 특정 버전의 모델을 직접 지정하거나, alias를 이용할 수도 있다.
1
2
3
4
5
6
7
8
9
10
11
12
13
import mlflow

# 버전 지정
mlflow.set_tracking_uri("http://localhost:5000")
model_uri = "models:/sample-model/3"
model = mlflow.pyfunc.load_model(model_uri)
result = model.predict(input_data)

# Alias
mlflow.set_tracking_uri("http://localhost:5000")
model_uri = "models:/sample-model@champion"
model = mlflow.pyfunc.load_model(model_uri)
result = model.predict(input_data)
3. 마치며
이번 포스팅에서는 MLflow Client Side의 작업 흐름, 특히 훈련시의 작업 흐름과, 훈련된 모델을 가져와서 사용할 때의 작업 흐름을 살펴보았다.
실무에서 실제로 MLflow 를 사용하다보면, 이전에 직접 실험관리를 하고 배포를 준비했을 때보다 작업의 절차가 굉장히 간소화되고, 작업 속도가 빨라지는 것을 느낄 수 있다. 이번 포스팅에서 다룬 “작업 흐름”을 반드시 잘 이해하고 있어야만 MLflow 를 효과적으로 잘 사용할 수 있음을 명심하자!
Comments