
테스트 실험(모델) 등록하기
1. 테스트 실험(모델) 코드
- 아래 코드는 더미 실험(모델)을 mlflow 에 등록하는 코드이다.
- 추가로, 더미 artifact도 생성하여 등록하는 코드도 포함되어있다.
os.environ부분의 mlflow tracking server URL이나 아티팩트 스토어 계정은 알맞게 수정해준다.
1
2
3
4
5
6
7
8
9
10
11
12
13
14
15
16
17
18
19
20
21
22
23
24
25
26
# mlflow_run_test.py
import mlflow
import os

# 1. 환경 변수 설정 (호스트 PC 기준 포트 사용)
# .env의 MLFLOW_PORT(5000)와 POSTGRES_PORT(5432)가 호스트에 노출되어 있어야 함
os.environ["MLFLOW_S3_ENDPOINT_URL"] = "http://localhost:9000" # RustFS 외부 포트
os.environ["AWS_ACCESS_KEY_ID"] = "mlflow"
os.environ["AWS_SECRET_ACCESS_KEY"] = "mlflow"

# 2. MLflow 서버 연결
mlflow.set_tracking_uri("http://localhost:5000")
mlflow.set_experiment("artifact-test")

with mlflow.start_run():
    # 파라미터 및 메트릭 기록 (DB 테스트)
    mlflow.log_param("status", "testing")
    mlflow.log_metric("accuracy", 0.95)

    # 3. 아티팩트 생성 및 업로드 (S3/RustFS 테스트)
    with open("test_artifact.txt", "w") as f:
        f.write("MLflow Artifact Storage Test Success!")

    mlflow.log_artifact("test_artifact.txt")

    print("Run completed. Check MLflow UI at http://localhost:5000")
2. 테스트 코드 실행
- python 코드를 실행시켜준다.
1
python .\mlflow_run_test.py
1
2
3
4
5
6
# 출력
2026/03/31 13:21:47 INFO mlflow.tracking.fluent: Experiment with name 'artifact-test' does not exist. Creating a new experiment.

Run completed. Check MLflow UI at http://localhost:5000
🏃 View run selective-goat-696 at: http://localhost:5000/#/experiments/1/runs/bd628892f60a41c8a539e8731a1c4cbb
🧪 View experiment at: http://localhost:5000/#/experiments/1
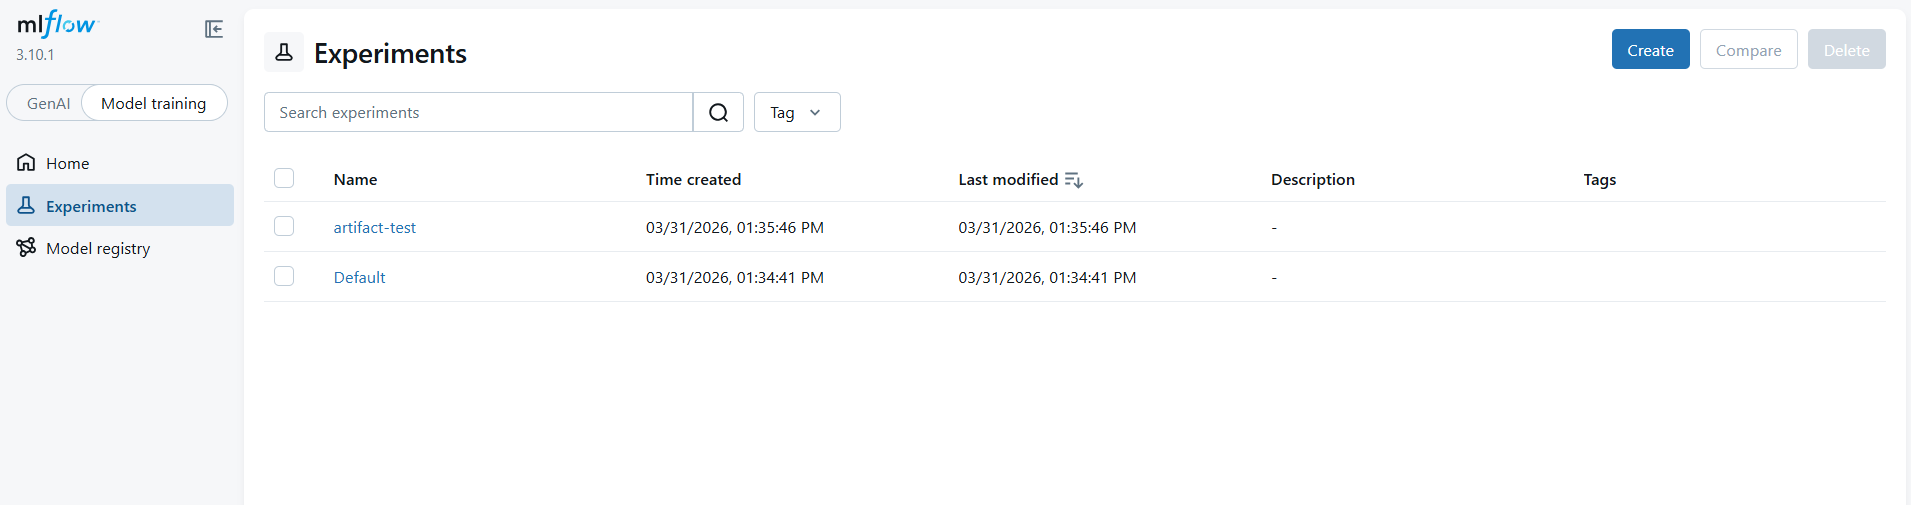
3. MLflow Tracking Server 에서 확인하기
- MLflow Tracking Server Web UI (http://localhost:5000)에서 등록된 모델을 확인한다.
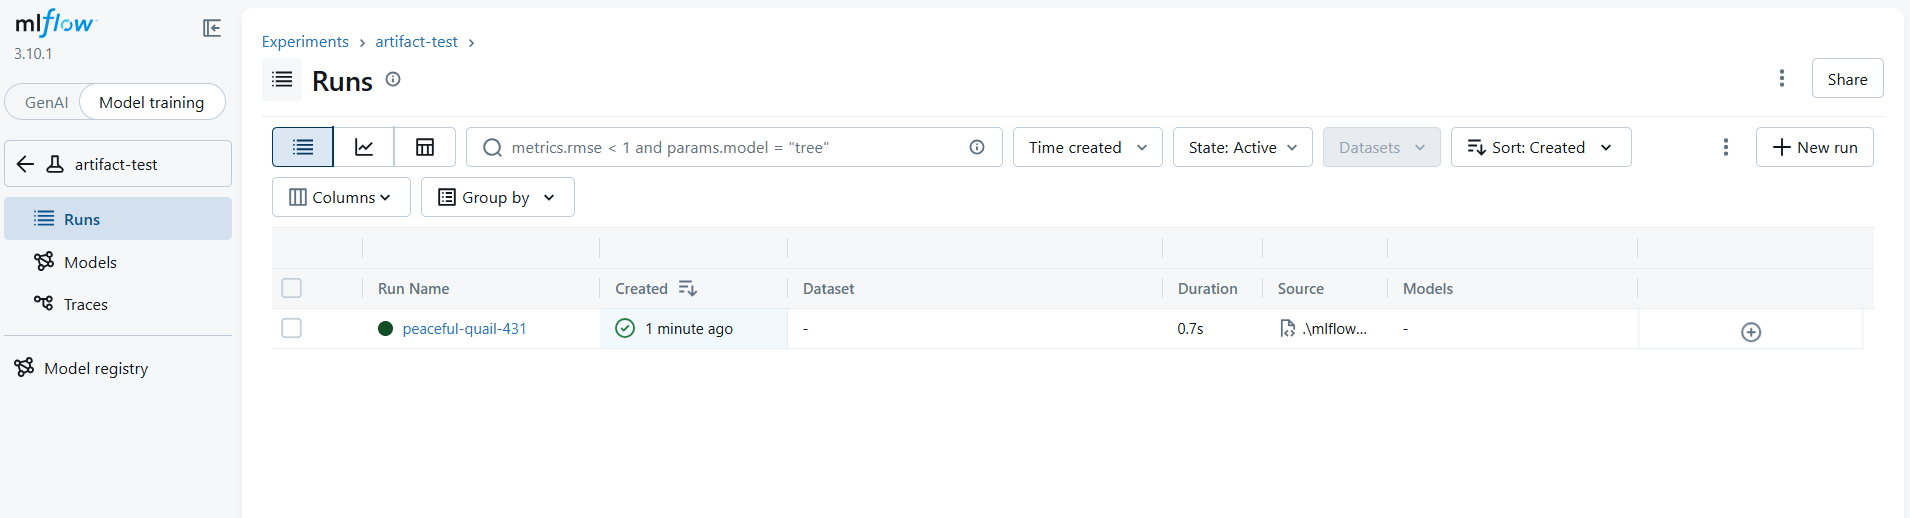
artifact-test실험이 생성된 것을 볼 수 있고, 클릭해서 드러가면 실험에 해당하는 실행(Run) 목록을 볼 수 있다.
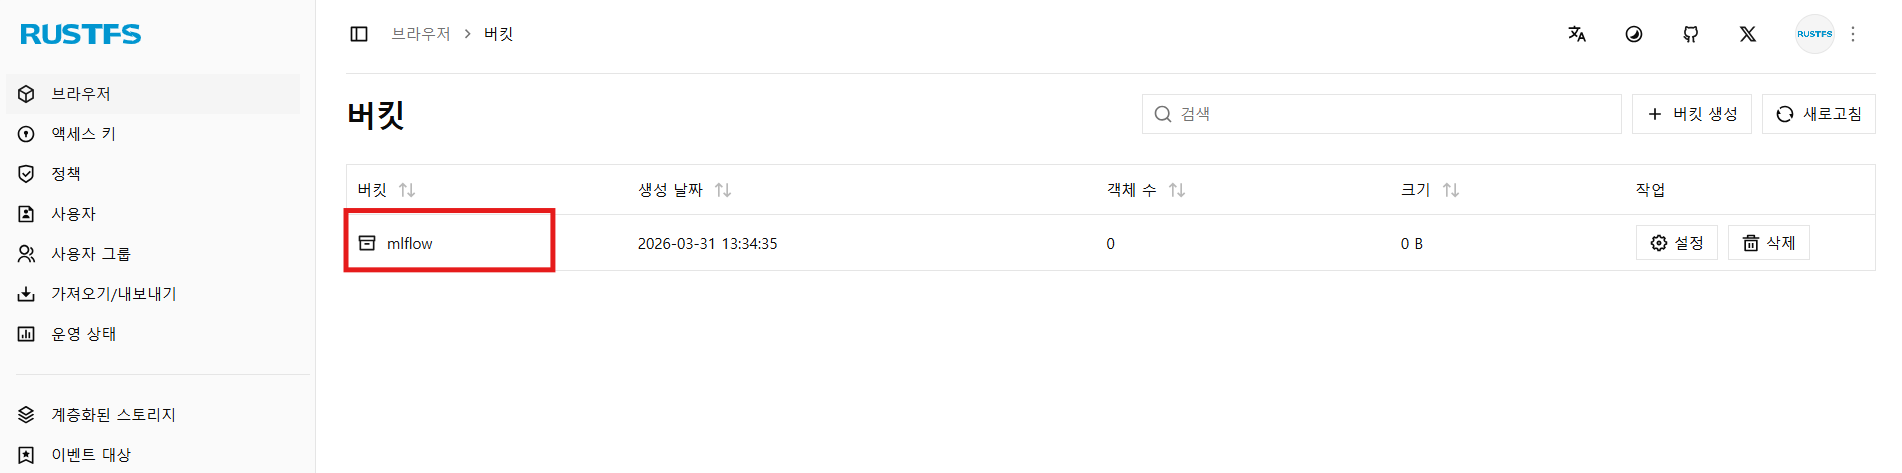
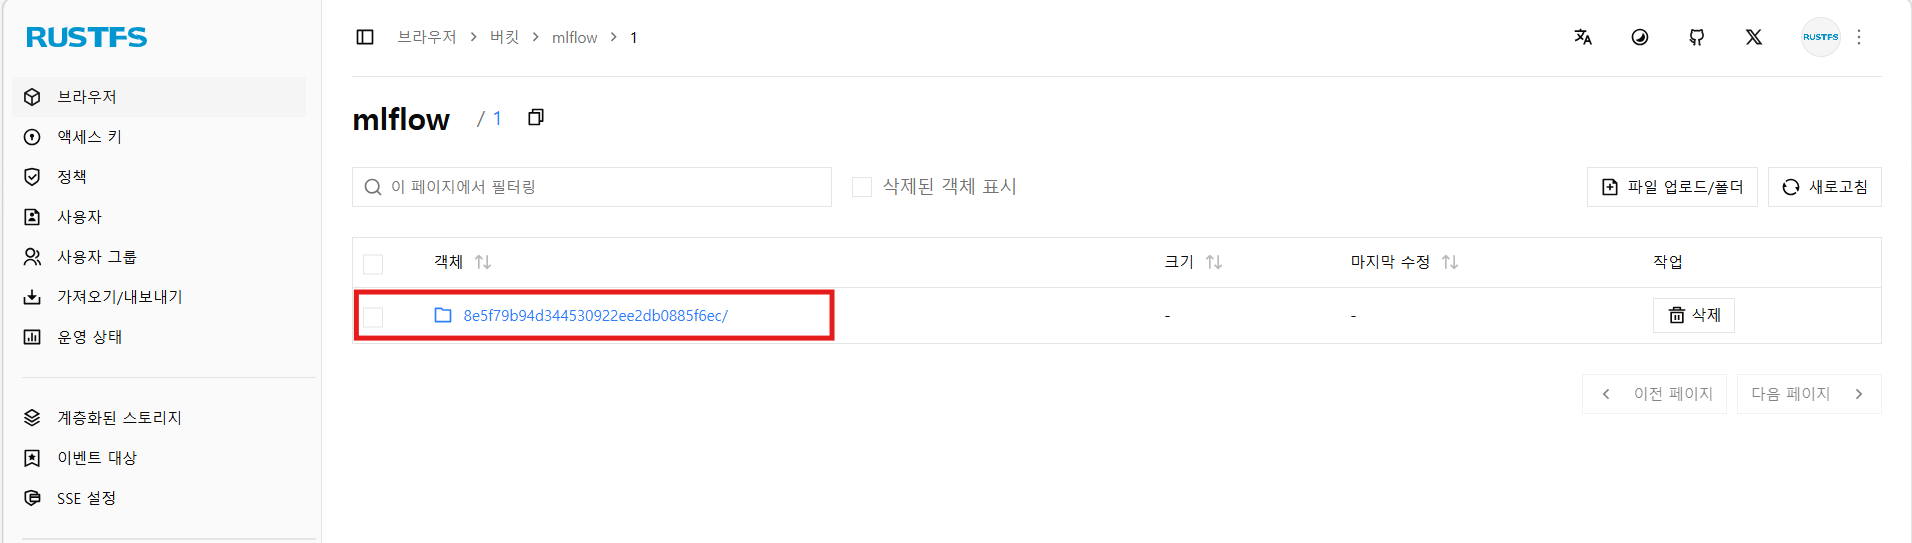
4. Artifact Store 에서 확인하기
- Artifact Store Web UI (http://localhost:9001)에서 아티팩트가 잘 등록, 저장되었는지 확인한다.
mlflow버킷에1및 RUN ID에 해당하는 프리픽스가 생성되었으며, 그 하위에 아티팩트가 등록된 걸 볼 수 있다.
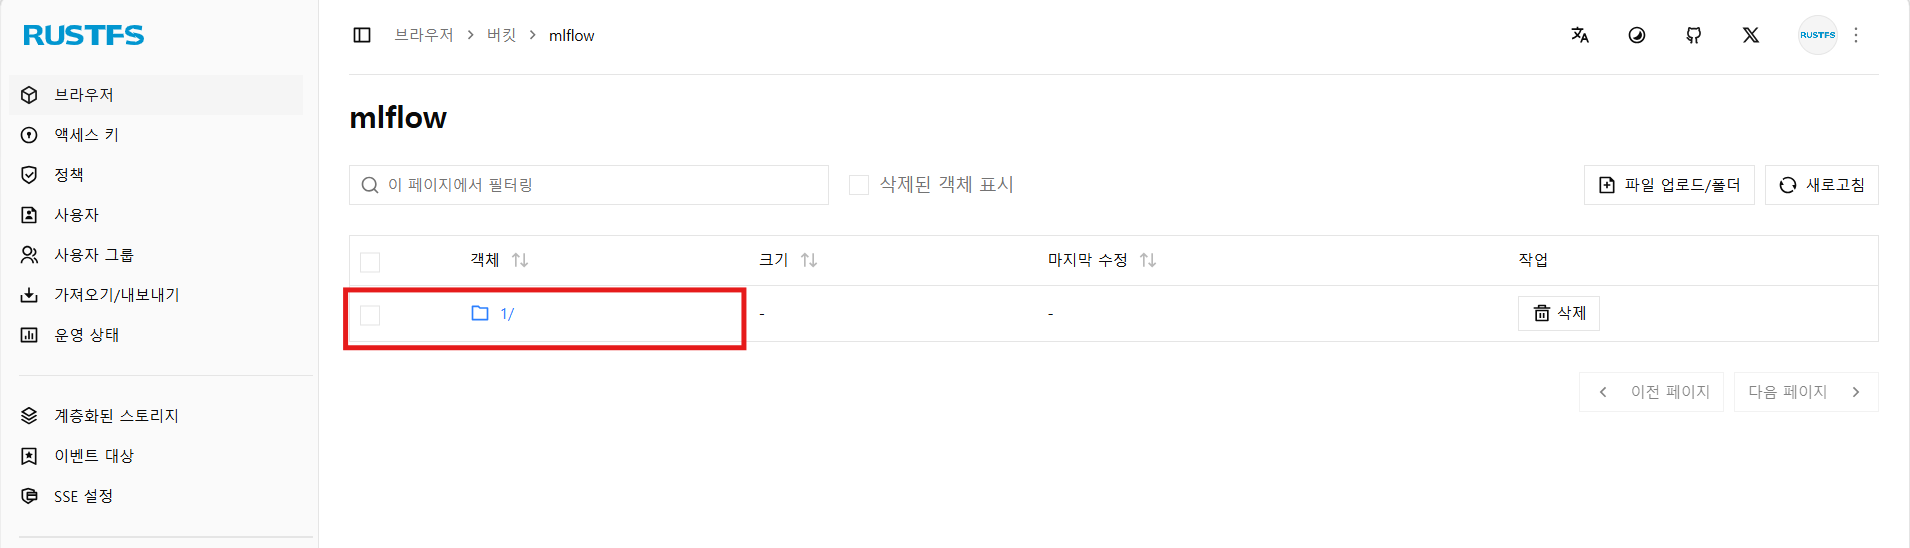
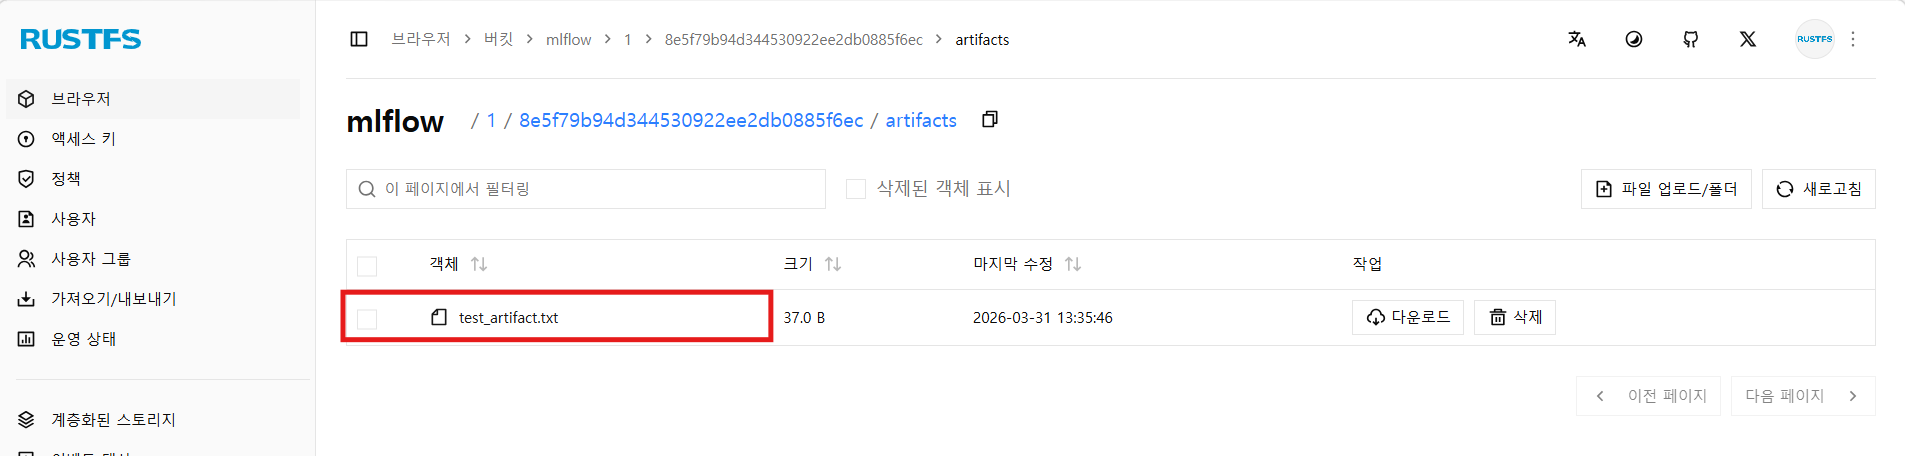
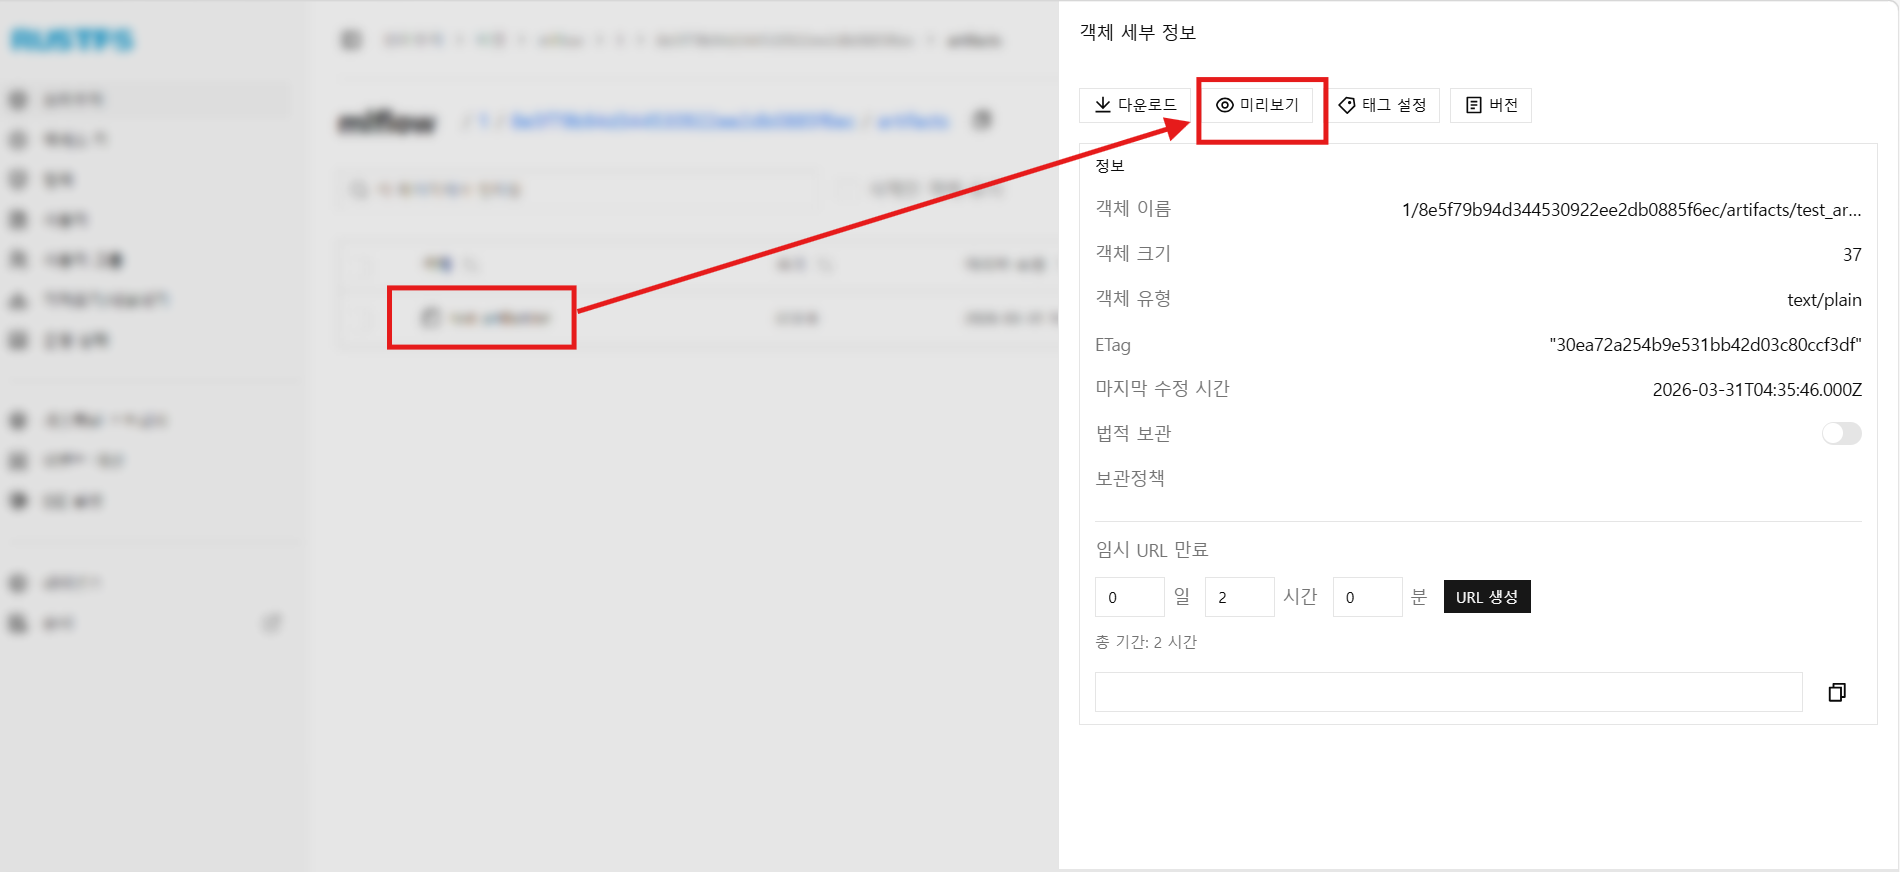
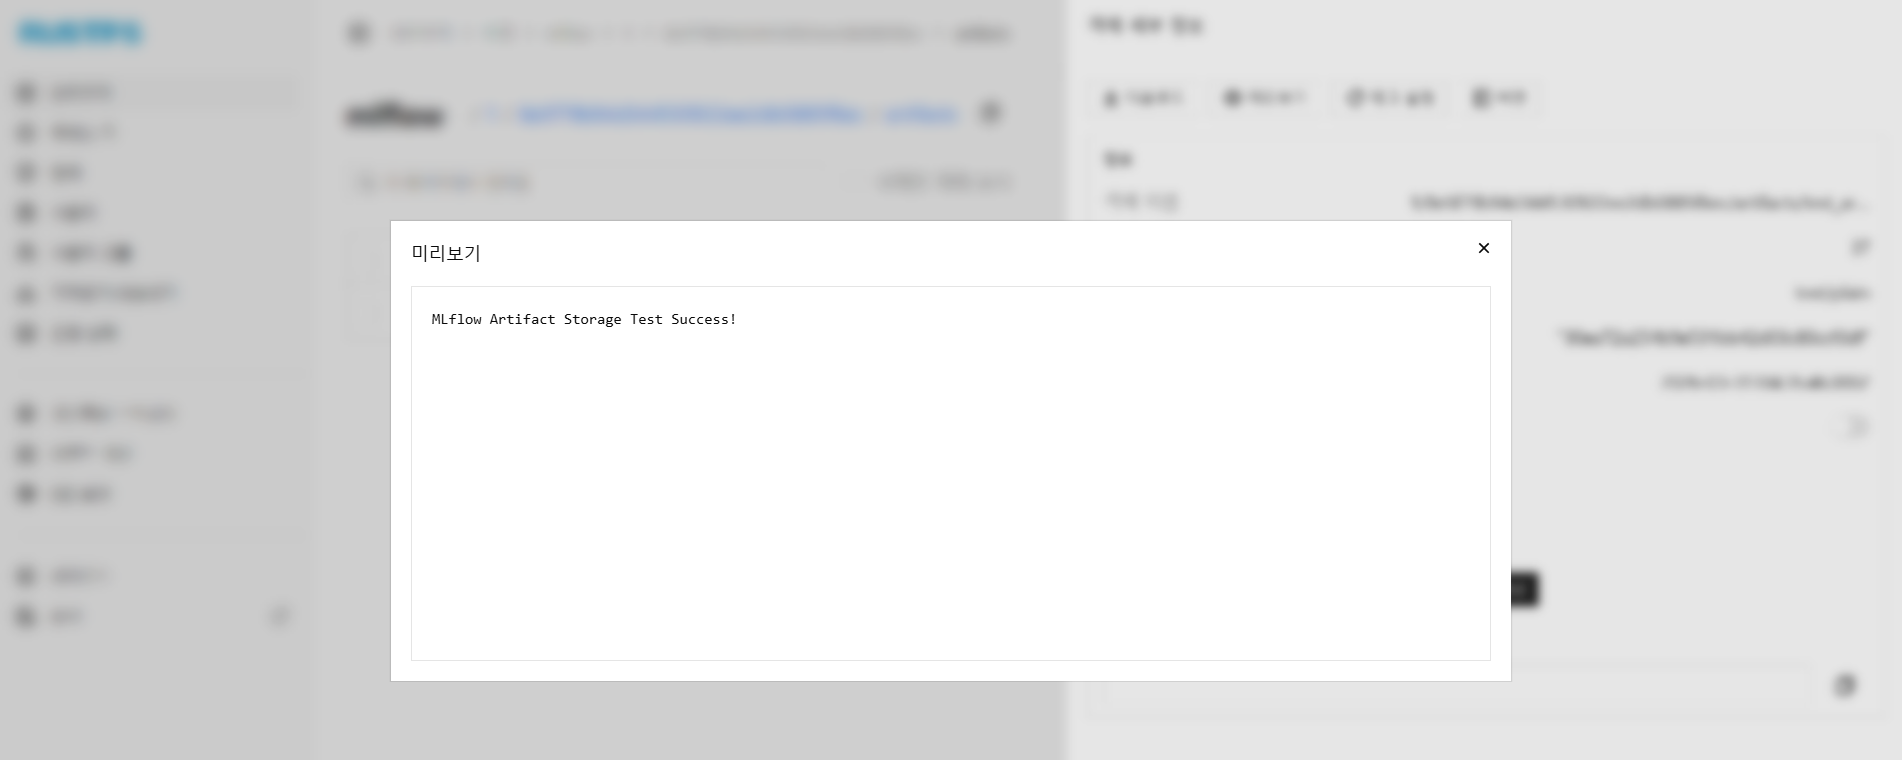
- 아티팩트를 클릭하고 미리보기를 누르면, 아티팩트의 내용을 볼 수 있다.
- 잘 등록된 것을 확인한다.
Comments