

Streamlit
소개
- Streamlit을 사용하면 빠르게 몇 분 만에 대화형 웹 앱을 만들 수 있습니다.
- 대시보드를 구축하고, 보고서를 생성하거나, 채팅 앱을 만들 수 있습니다.
특징
- Simple and Pythonic : 간결하고 파이썬스러운 코드
- Fast, Interactive Prototyping : 빠르고 상호작용적인 프로토타이핑
- Live Editing : 실시간 편집 - 스크립트를 편집하는 동안 앱이 즉시 업데이트
- Open-Source and Free : 오픈소스 무료 소프트웨어
설치
1
2
3
4
5
# uv
uv add streamlit

# pip
pip install streamlit
작동
1
2
3
4
5
# uv
uv run streamlit hello

# pip
streamlit hello
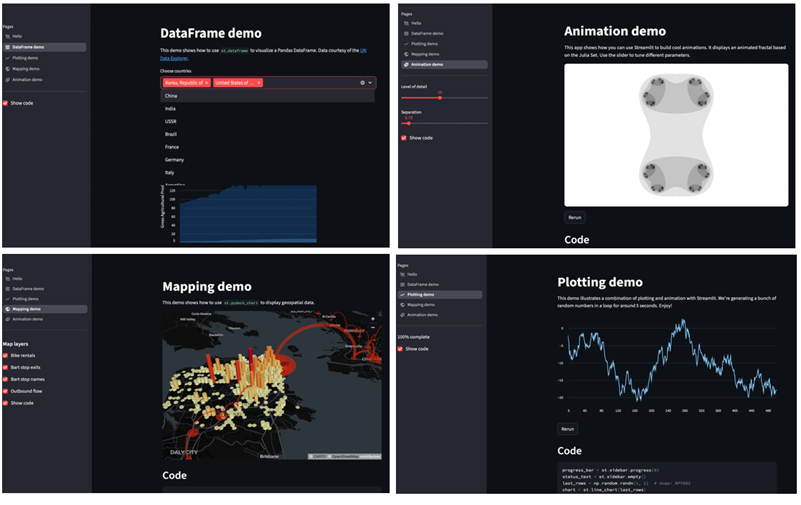
- 첫 화면
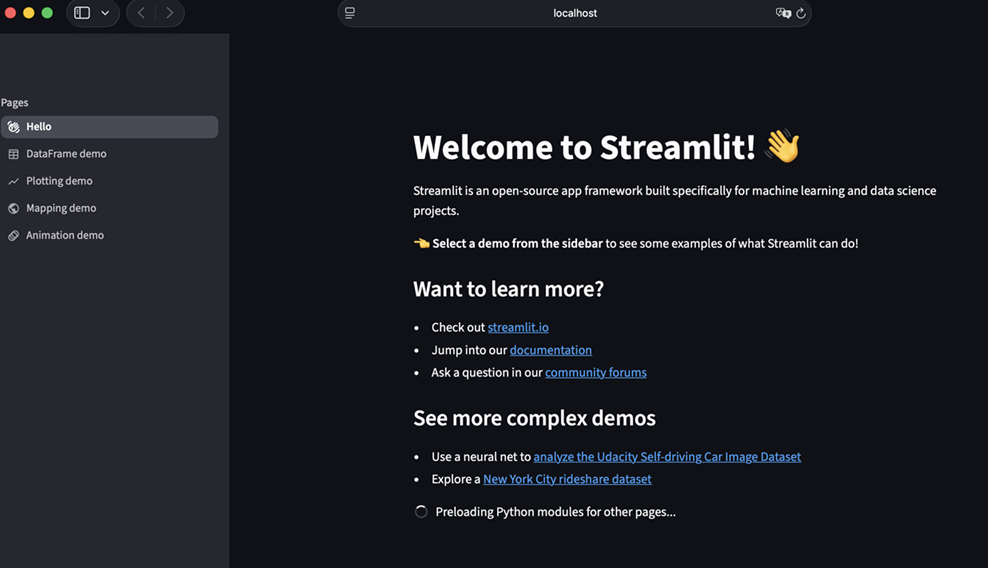
- streamlit 으로 구축할 수 있는 다양한 화면 예시
chat 화면 구현하기
- 다음은 streamlit chat 화면 코드입니다.
OpenAI chat_gpt 코드(펼치기/접기)
1
2
3
4
5
6
7
8
9
10
11
12
13
14
15
16
17
18
19
20
21
22
23
24
25
26
27
28
29
30
31
32
33
34
35
36
37
38
39
from openai import OpenAI
from core.config import config
from schemas.dto import OpenAIMessage

def chat_gpt(user_message:str|None=None,
              system_message:str|None=None,
              assistant_message:str|None=None,
              messages:list[OpenAIMessage]|list[dict]|None=None,
              model:str="gpt-4o",
              temperature:float=0.1):

    api_key = config["apikey"]["openai"]
    client = OpenAI(api_key = api_key)
    if messages:
        response = client.chat.completions.create(
            model = model,
            temperature = temperature,
            messages = [message.__dict__ for message in messages] if isinstance(messages[0], OpenAIMessage) else messages
        )
    else:
        messages = []

        if system_message:
            messages.append({"role":"system", "content":system_message})
        if user_message:
            messages.append({"role":"user", "content":user_message})
        if assistant_message:
            messages.append({"role":"assistant", "content":assistant_message})

        response = client.chat.completions.create(
            model = model,
            temperature = temperature,
            messages = messages
        )

    return response

# 결과 텍스트 출력
# response.choices[0].message.content
1
2
3
4
5
6
7
8
9
10
11
12
13
14
15
16
17
18
19
20
21
22
23
24
25
26
27
28
29
30
31
32
33
34
35
36
37
38
39
# main.py
import streamlit as st
from feature.openai_api import chat_gpt

def streamlit_chat(chat_function=chat_gpt):

    # 사이드바 :
    with st.sidebar:
        "Streamlit 테스트"

    # title
    st.title("🤖 Doit Chatbot")

    # 초기 메시지
    if "messages" not in st.session_state: # st.session_state : 스트림릿에서 사용자의 세션 상태 관리
                                           # 사용자가 웹 브라우저에서 상호작용하는 동안 상태가 저장/유지되고 업데이트 됨
        st.session_state.messages = [{"role": "assistant", "content": "안녕하세요! 무엇을 도와드릴까요?"}] # 세션이 없으면 초기 메시지 보여줌

    # 대화 기록을 웹브라우저에 출력
    for message in st.session_state.messages:
        with st.chat_message(message["role"]): # st.chat_message : 스트림릿의 채팅 인터페이스에 메시지를 출력하는 용도 (assistant / user)
            st.markdown(message["content"])    # st.markdown : 컨텐츠를 출력할 형태 지정 - 마크다운으로 (기본은 write)

    # LLM 에 질의
    if prompt := st.chat_input(): # 사용자의 입력을 받아 prompt 변수에 할당
        st.session_state.messages.append({"role": "user", "content": prompt}) # 사용자의 질문을 상태 - 메세지에 추가
        with st.chat_message("user"): # 사용자의 질문을 화면의 "chat message container"로 보여줌
            st.markdown(prompt)
        # 질의에 대한 응답 받아옴
        response = chat_function(messages = st.session_state.messages)
        msg = response.choices[0].message.content
        # 응답을 세션에 업데이트
        st.session_state.messages.append({"role":"assistant", "content":msg})
        # 화면에 응답 출력
        with st.chat_message("assistant"):
            st.markdown(msg)

chat_function = chat_gpt
streamlit_chat(chat_function)
1
2
3
4
5
# uv
uv run streamlit run main.py

# pip
streamlit run main.py

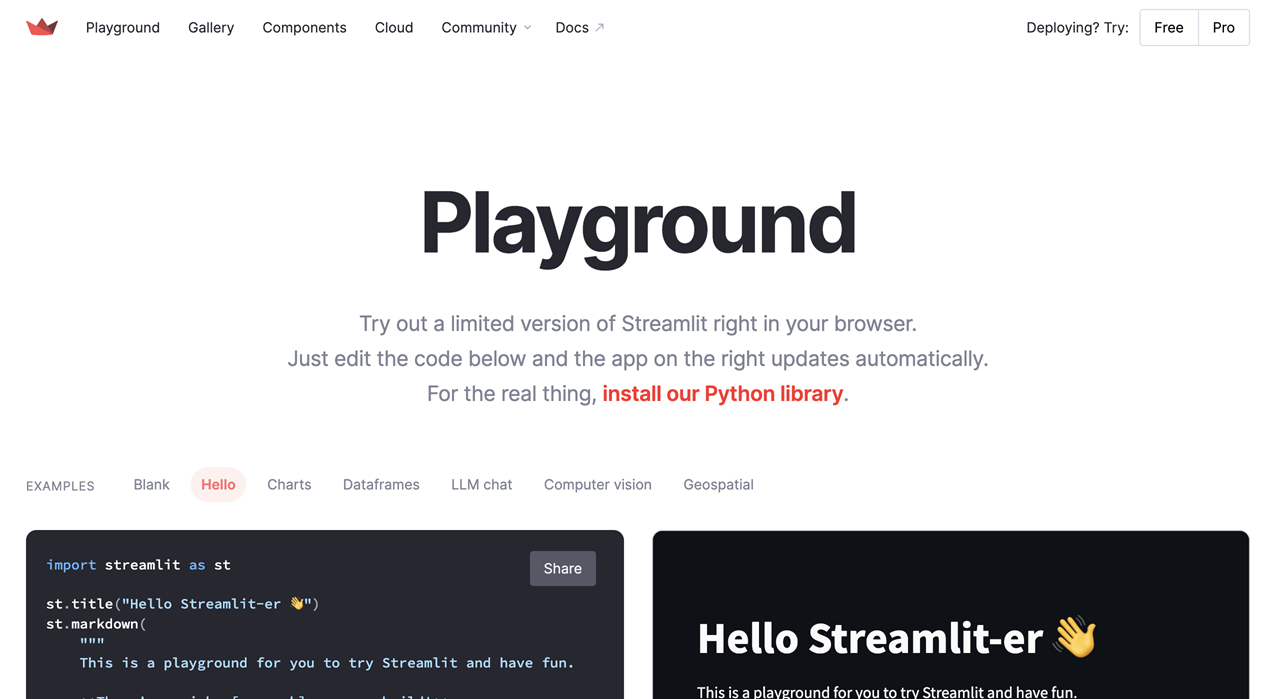
그 외 다양한 활용법
- Streamlit 사이트의 Playground 를 참고하면 다양한 활용법을 알아볼 수 있습니다.
https://streamlit.io/playground
Reference
Do it! LLM을 활용한 AI 에이전트 개발 입문
https://docs.streamlit.io/
https://streamlit.io/playground
Comments