
PyAudio

- introduce : https://people.csail.mit.edu/hubert/pyaudio/
- doc : https://people.csail.mit.edu/hubert/pyaudio/docs/
PortAudio 라이브러리를 파이썬을 이용해 사용할 수 있게 해주는 라이브러리.
PortAudio는 cross-platform audio I/O(인풋 - 아웃풋) 라이브러로, 음원파일 재생과 녹음 등을 지원한다.
아마 이 라이브러리를 이용하게 될 것 같은데.. 국문 자료는 많지 않은 이유로
영문 자료 탐색 혹은 PortAudio 라이브러리에 대한 공부가 필요해 보인다.
Installaion
운영체제에 따른 설치 방법은 아래와 같다.
1
2
3
4
5
6
7
8
9
10
11

# windows
python -m pip install pyaudio

# MAC (둘 모두 설치)
$ brew install portaudio
$ pip install pyaudio

# Linux
sudo apt install python3-pyaudio
Classes
pyaudio.PyAudio
Python interface to PortAudio.
Provides methods to: initialize and terminate PortAudio
open and close streams
query and inspect the available PortAudio Host APIs
query and inspect the available PortAudio audio device
PortAudio(cross platform audio I/O)를 사용하는 파이썬 인터페이스.
즉, 파이썬을 통해 PortAudio를 다룰 수 있게 해주는 pyaudio의 중심이 되는 클래스.
stream을 열거나 닫을 수 있으며,
- stream
pyaudio.PyAudio.stream
예시
예시 소개 : 재생중인 음악의 볼륩 스펙트럼을 matplotlib으로 보여주기
docs만 보고 공부를 하려다 보니 느낌이 딱 오지는 않아서..
‘감 잡을 수 있는 구현 예제가 있다면 좋겠다!’ 는 생각에 ‘볼륨 스펙트럼 만들기’ 를 진행해보았다.
험난한 과정
선행 한 개발자의 코드가 공개되어있어 따라해봤지만.. 볼륨 스펙트럼이 matplotlib 그래프에 나타나지 않는 문제가 생겼다.
input device, output device 등 여러 부분을 수정해보며 시도했지만 결과는 실패.
구글링을 통해서도 명쾌한 해답을 찾지 못해 방황하던 중,
Chat GPT에 질문을 통해 해답을 얻을 수 있었다.
chat GPT… 너무 좋아..
문제를 찾는 데 4~5시간이 걸리긴 했으나 해답을 찾아 기쁘다.
질문 : how can i make volume-spectrum program by pyaudio about playing contents like youtube?
답변 : Here are the steps you can follow:
- Create a virtual audio device using a tool such as Virtual Audio Cable or Loopback.
- Set the virtual audio device as the output device for the application (e.g. YouTube)
- Open an input stream using PyAudio and set it to read from the virtual audio device
- Perform FFT on the audio data and plot the results in real-time
질문 : how can i make virtual audio Loopback
답변 : 유료 앱을 이용하라는 답변
질문 : please recommend another way that make virtual audio loopbacks on MacOS
답변 : Another way to create a virtual audio loopback on MacOS is to use the built-in “Audio MIDI Setup” utility.
- Open the “Audio MIDI Setup” utility, which is located in the “Applications > Utilities” folder
- Click the “+” button in the bottom left corner to create a new Aggregate Device
- Check the box next to the built-in output device (e.g. “Internal Speakers”) and the built-in input device (e.g. “Internal Microphone”)
- Click “Apply”
- Set the new Aggregate Device as the output device for your audio player and as the input device in PyAudio
결론: output -> input device의 묶음으로 이루어진 새 가상 오디오 장치를 만들어야 한다.
아래는 chatGPT의 조언을 토대로 진행해본 내용을 서술한다.
진행 과정 소개
-
- Create a virtual audio device using a tool such as Virtual Audio Cable or Loopback.
- 가상 오디오 케이블 혹은 Loopback같은 툴을 이용한 가상 오디오 장치를 만들어라
-
- Set the virtual audio device as the output device for the application (e.g. YouTube)
- 만들어진 가상 오디오 장치를 애플리케이션(예시로 든 유튜브 등)의 output 장치로 설정하라
-
- Open an input stream using PyAudio and set it to read from the virtual audio device
- 가상 오디오 장치로부터 읽어들이는 컨텐츠를 input stream (pyaudio를 이용한) 으로 설정하라
-
- Perform FFT on the audio data and plot the results in real-time
- 오디오 데이터에 고속 푸리오 변환을 실행하고, 이를 실시간으로 plot에 나타내라
first. 가상 오디오 장치 만들기
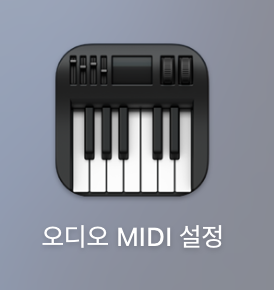
(1) ‘오디오 Midi 설정’ 앱을 실행시킨다. (utilities 디렉토리에 위치함)
Open the “Audio MIDI Setup” utility, which is located in the “Applications > Utilities” folder
(2) 왼쪽 아래의 “+” 버튼을 눌러 새 통합 장치를 만든다.
Click the “+” button in the bottom left corner to create a new Aggregate Device
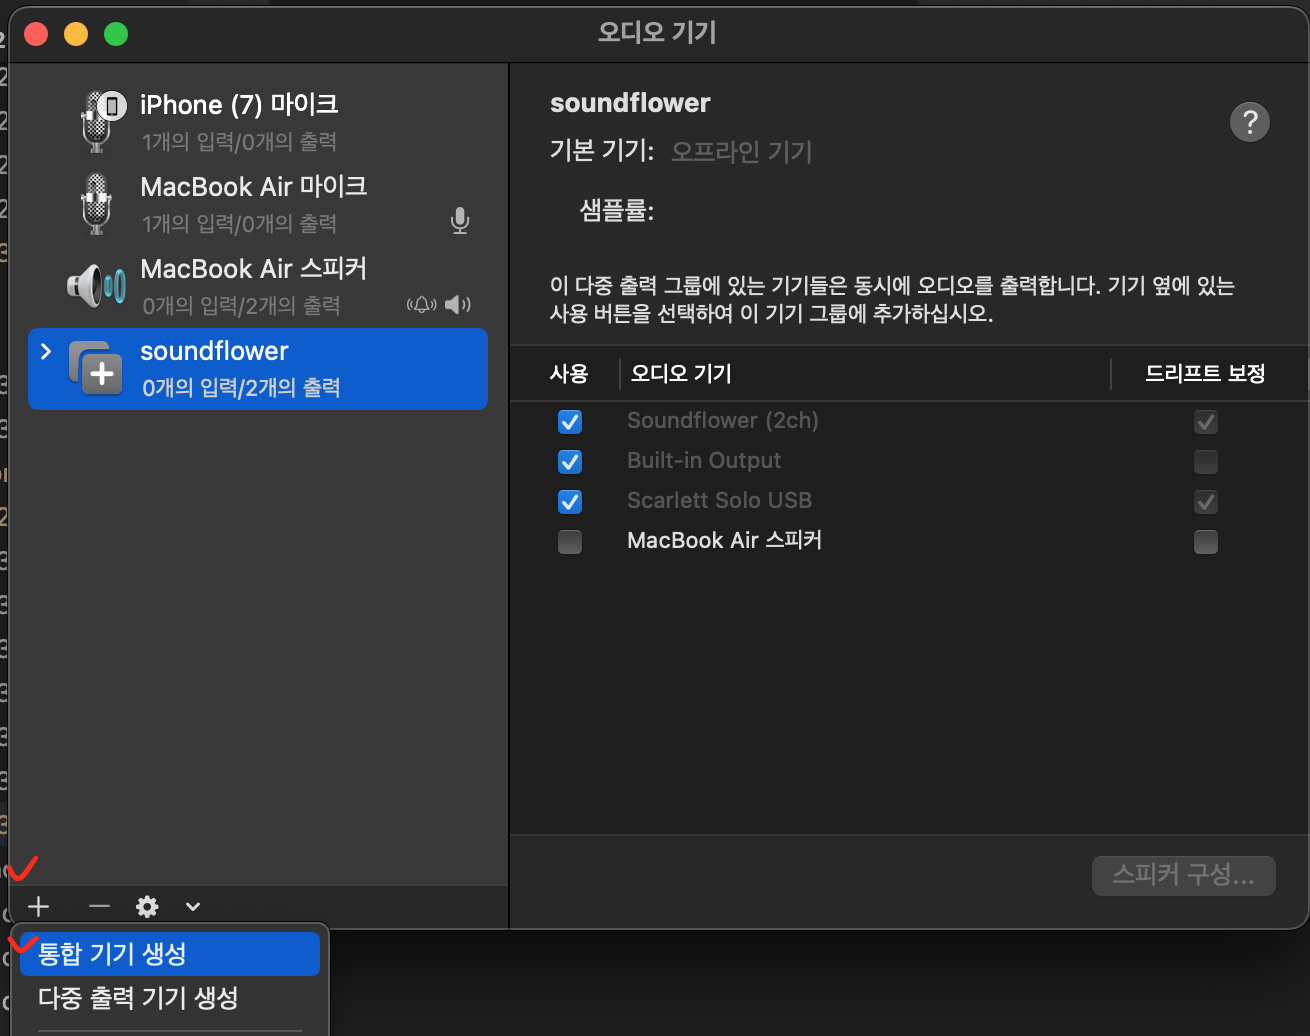
(3) 기본 Output, Input 장치의 체크박스에 체크한다.
(맥북의 경우 ‘맥북~ 의 마이크’, ‘맥북~의 스피커’)
Check the box next to the built-in output device (e.g. “Internal Speakers”) and the built-in input device (e.g. “Internal Microphone”)
(4) 적용을 클리한다.
Click “Apply”
따로 Apply 버튼이 없어, 스크린샷 생략
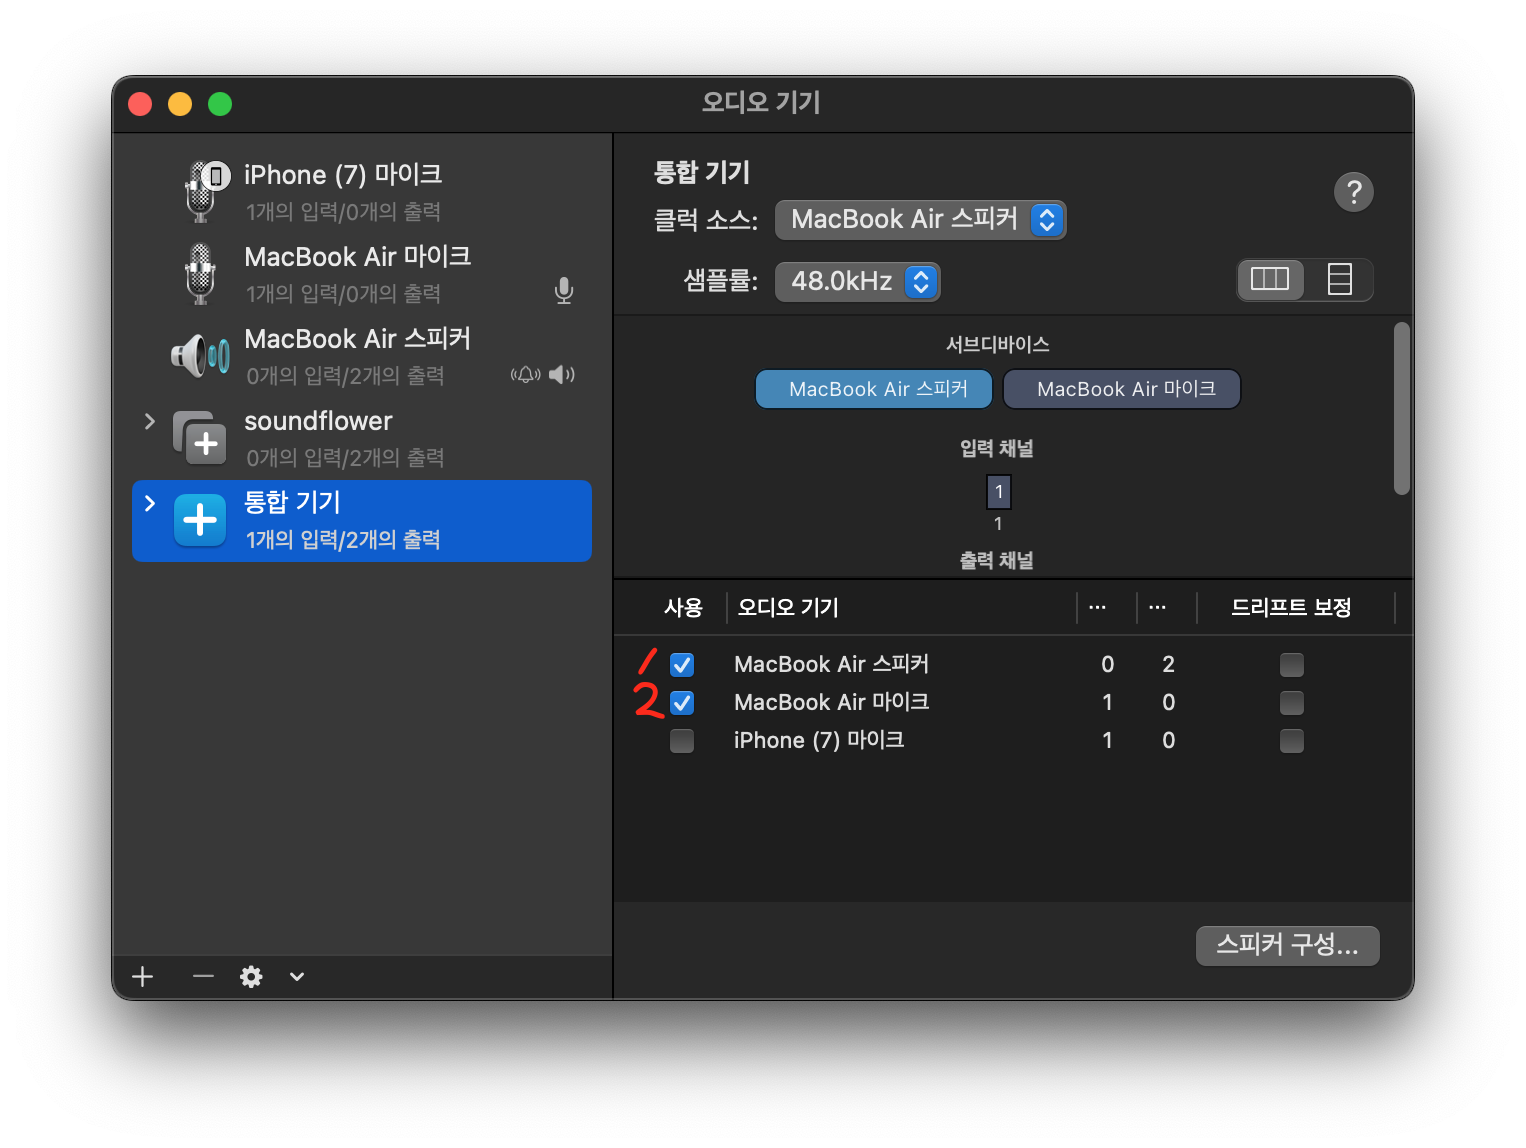
(5) 새로 만든 통합 장치를 내 오디오플레이어의 output 장치로,
그리고 PyAudio의 input 장치로 설정한다.
Set the new Aggregate Device as the output device for your audio player and as the input device in PyAudio
-
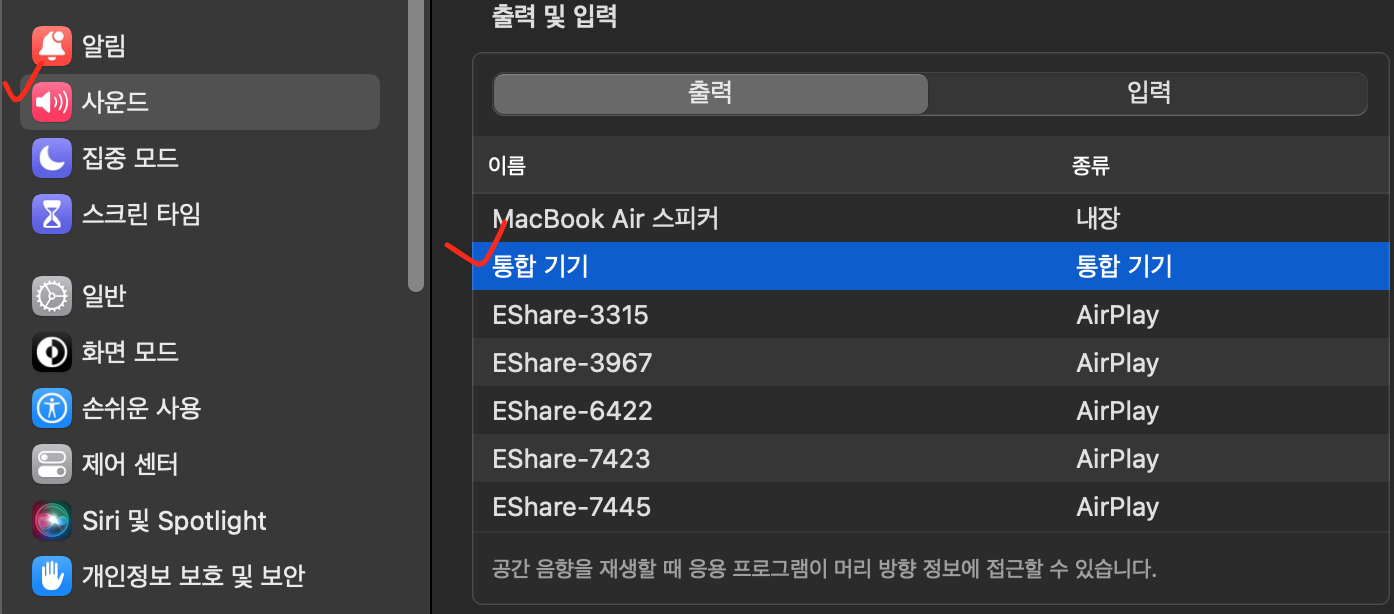
시스템 환경설정 > 사운드 > 출력 탭 > ‘통합 장치’ 선택
-
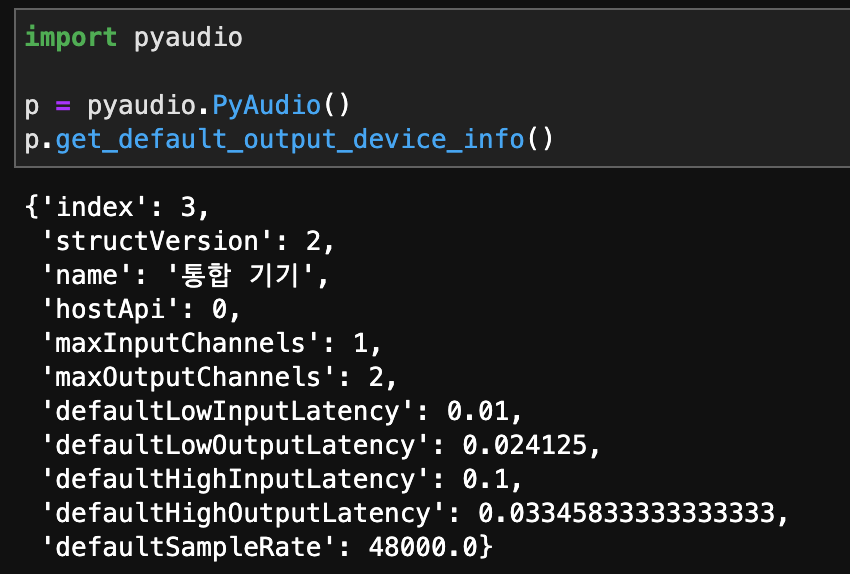
PyAudio 에서 Device index를 확인 후, 메인 코드에서 Input device index로 주기

second. volume - spectrum 파이썬 코딩
[Kim minseok님 gist url]
원작자에게 아직 허락을 받지 않은 부분.
최대한 본 코드는 노출하지 않도록 한다.
- 코드 중 일부 수정 : linespace 오류
1
2
3
4
5
6
7
8
9
10
# 오류 내용
ine 65, in animate
    x = np.linspace(0,44100/2,n/2)
TypeError: 'float' object cannot be interpreted as an integer
## n이 짝수가 아닐 경우 float이 되는데, 이를 받아들이지 못함

# 수정
## 일부 오차가 있을 수 있지만, round를 통한 정수화를 진행했다.
x = np.linspace(0,44100/2,n/2) ## 원 코드
x = np.linspace(0,44100/2,int(round(n/2))) ## 수정 코드
결과물
Youtube에서 아무 플레이리스트나 재생시킨 후,
실시간으로 Volume-Spectrum을 만들어냄
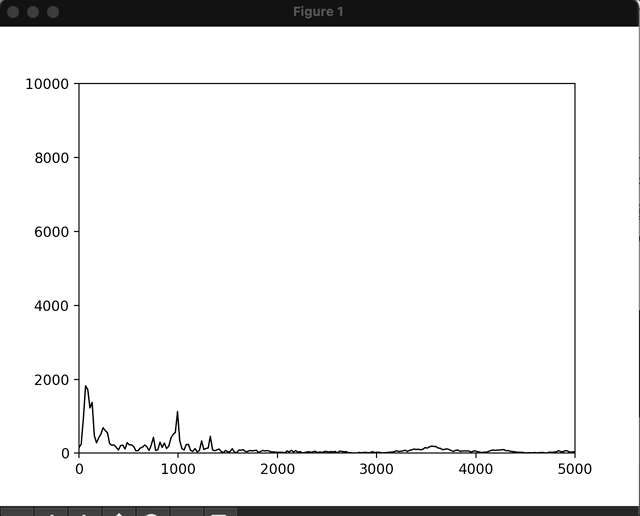
(명확한 결과물을 보기 위해 y값을 50배 증폭시킨 결과물이다.)
Reference
- 파이썬 pyaudio 실시간 푸리에 변환 : https://www.youtube.com/watch?v=430lZ_lxa7Q
- 파이썬 pyaudio 실시간 푸리에 변환(깃허브) : https://gist.github.com/kcal2845/fea880774c3c26996bd3366166b42bb7
- FFT : 고속 푸리에 변환 [https://ko.wikipedia.org/wiki/%EA%B3%A0%EC%86%8D_%ED%91%B8%EB%A6%AC%EC%97%90%EB%B3%80%ED%99%98](https://ko.wikipedia.org/wiki/%EA%B3%A0%EC%86%8D%ED%91%B8%EB%A6%AC%EC%97%90_%EB%B3%80%ED%99%98)
Comments